Friday, March 17, 2017
GIGABYTE X99 Case mode Made By Kier
GIGABYTE X99 Case mode Made By Kier
Available link for download
Tuesday, March 7, 2017
GIGABYTE X99 SOC Champion Debuts at CES 2015 with One More WR Under its Belt
GIGABYTE X99 SOC Champion Debuts at CES 2015 with One More WR Under its Belt
Today, Jan. 5th 2015, GIGABYTE held it’s pre-CES Press Event in the Caesar’s Palace Neopolitan ballroom. One of the main focus of that event was the launch of a new overclocking board, the GIGABYTE X99-SOC Champion. 

http://www.gigabyte.us/press-center/news-page.aspx?nid=1342
One of the main feature of the X99 SOC Champion is the SMT mounted DIMMs for improved signal quality and their location which is closer to the CPU socket. The DIMM’s shorter trace path enables the DDR4 memory to communicate faster with the CPU, enabling the overclockers to reach higher DDR4 memory frequencies. Additionally, the motherboard includes a CPU Mode Switch; this switch allows the overclockers to switch between CPU default socket mode and OC socket mode.
The Press Event was crown by a live overclocking demonstration held by GIGABYTE famous overclockers Dinos22, Sofos1990 and HiCookie. The skilled trio managed to impress the crowd with a 1 World Record, 3 Global First and 3 Hardware First on the X99-SOC Champion! Nice going guys! Here are the submissions:

3004 Marks on XTU with Intel Core i7 5960X
http://hwbot.org/submission/2722703
2317 Marks on XTU with Intel Core i7 5820K
http://hwbot.org/submission/2722904
84470 Marks on 3D Mark Vintage with x1 GPU
http://hwbot.org/submission/2722892
Ian from Anandtech already had a look at the X99-SOC Champion. Although he couldn’t test the board on its true intent, LN2 overclocking, Ian gave the Champion a good thorough testing. You can read the results and his opinion here:
http://www.anandtech.com/show/8804/gigabyte-x99-soc-champion-motherboard-review-low-cost-x99-overclocking
Here are a few pictures of the event:


Available link for download
Tuesday, February 21, 2017
Have you got your X99 board yet ready for some gaming action this weekend
Have you got your X99 board yet ready for some gaming action this weekend
I built a new gaming rig to have some fun this weekend and thought I’d share my excitement and see who else is up for some gaming on the weekend.
Have a look at this awesome download speed with Telstra 100Mbps cable internet and GIGABYTE X99 SOC Force Intel Gigabit LAN downloading at a constant 13.6MB/s!!!
Time to fire up some GRID Autosport

Btw, loving this Ambient LED feature. Looks awesome in a dark room.
Dino
Available link for download
Sunday, February 19, 2017
GIGABYTE X99 New Function Ambient LED
GIGABYTE X99 New Function Ambient LED
With the new X99 motherboards LED design, GIGABYTE is introducing Ambient LED. In the video bellow, Colin introduces this function made to help control how your GIGABYTE X99 motherboards LEDs react.?
Available link for download
Saturday, February 11, 2017
GIGABYTE X99 New Function QFlash Plus
GIGABYTE X99 New Function QFlash Plus
On an healthy running system, you can easily update your BIOS using the @BIOS option found in the App Center. But in the unfortunate event that both your main BIOS and Backup BIOS becomes unavailable, or that you have a new CPU that requires a different BIOS, you will not be able to boot up your system to access the App Center. That is where QFlash Plus comes handy. Here are the steps to follow to flash your BIOS using QFlash Plus.
- Make sure your USB thumb drive is formatted in FAT32 and upload the BIOS you want to flash to it. You can find the latest BIOS version for your motherboard on GIGABYTE’s website : http://www.gigabyte.com/support-downloads/download-center.aspx?ck=2
- Rename that BIOS file to GIGABYTE.BIN
- Turn OFF your system and plug in your USB thumb drive in the white USB port located at the BACK I/O panel.
- Turn your system ON and wait for the BIOS to be flashed. This step may take a few minutes, do not reboot your system or remove the USB thumb drive during that process. An LED located next to the white USB port will blink showing that the new BIOS is being uploaded to your system. Once this LED is turned off, the process is complete.
- Turn off your system, remove the USB thumb drive and restart your system.
Voila!
In the following video, Colin gives you a demonstration on how to use QFlash Plus on GIGABYTE X99 motherboards.
Available link for download
Tuesday, January 31, 2017
GIGABYTE X99 SOC Champion… is still the Champion!
GIGABYTE X99 SOC Champion… is still the Champion!
HWBOT published their April 2015 number run down. Quite a good month overall we must say for the overclocking world as 36 World Records and 114 Global First Place results have been achieved by overclockers at HWBOT!
But obviously, the numbers that really makes us happy here is to see this month’s Top Hardware numbers. where the GIGABYTE X99-SOC Champion finished in 1st place in April with 18 World Records!!!
X99-SOC Champion, you rock!!

Source: http://hwbot.org/news/12040
Available link for download
Monday, January 9, 2017
GIGABYTE X99 bios and software updates Windows XP
GIGABYTE X99 bios and software updates Windows XP

X99 chipset has been out for some time and we’ve been working hard to improve on various benchmarking software and bios for the new platform.
If you got yourself one of these GIGABYTE X99-SOC CHAMPION boards, you can now use the following tools to improve your overclocking efficiency.
Here is whats uploaded:
- Gigabyte Tweak Launcher (GTL2.1 version B15.0611.1 for Win7/8/10 & GTL2.1 v B15.0129.1 for WinXP): allows real time voltage/parameters changes in windows as well as launch profiles
- MemoryTweak-X99 software (version B14.1218.1): allows real time memory timings changes in windows
- Windows XP ME support (need to install this to be able to change base clock in Windows XP)
- Bios F4i for GIGABYTE X99 SOC CHAMPION Tip with CPUz to load faster is to edit the .ini file in the folder and change monitoring from 1 to 0!
Download link: https://www.mediafire.com/?fxbwveqe6t3ubkj
Dino
Available link for download
Friday, December 9, 2016
GIGABYTE X99 OC Guide
GIGABYTE X99 OC Guide
With every new line up of motherboards from GIGABYTE, an OC Guide is made to help the users push the stock limits of their systems. X99 series is no exception to this rule. Coming straight from the OC Lab, here is the GIGABYTE X99-OC Guide made by the famous Soffos1990.
Features


OC PCIe Switch:
Allows the user to disable individual PCI-E slots. This is especially useful for PCIe diagnostic when it is difficult to remove the PCIe cards with cooling apparatus installed on. Also, you will notice that there are 4 LED lights, one for each PCI-E slot. If the PCIe card installed in the slot is working without a problem, then the LEDs stays on.OC Ignition:
Provides power to DIMMs slots, PCIe slots and peripheral devices even when the system is off. This feature is a GIGABYTE exclusive and provides many hidden benefits to users. First of all you can test not only the PSU to make sure it properly works, but also any voltage modifications on your graphics cards, water cooling systems, case mods and fans (Virtually anything that requires the board or PSU to provide power to can be engaged). It is especially useful during cold bug situations when you need a fan to run 24/7 to keep condensation at bay. It also can be used to provide continuous power to the PCIe/PCI based RAM cards that lose memory when they are powered off.OC Tag:
Allows user to set specific BIOS profile which is engaged when OC Tag is engaged, this is useful because you can save your OC profile for benching to TAG, and use TAG instead of inputting your settings. This makes it easy to remove the settings if you need to troubleshoot and even easier to re-apply them when needed.OC Turbo:
Easy one touch auto-OC feature from GIGABYTE (~4.2ghz OC depending on CPU SKU).OC BCLK/Multiplier +/- buttons:
Real-time overclocking of BCLK and multiplierOC Gear:
Reduces BCLK +/- button steps from 1mhz to ~0.1mhzOC Trigger Switch:
When engaged can reduce system Uncore and CPU ratio to 8x on the fly, this is useful for maximum validations for CPU speed. An example of getting to 7 GHz; you boot in at 6.5 GHz, then increase the multiplier by 1x with OC Touch, but your system becomes unstable quickly. Instead of waiting for instability, you can instead engage the trigger switch (CPU now at 8x), increase the multiplier with OC Touch, and then re-engage high multiplier(dis-engage TRG switch), and you will get to your top multiplier, save a validation, and then engage trigger switch again and complete the procedure again.Dual BIOS Switch:
Select between main and backup BIOS, you can flash one with an official build and the other with an OC BIOS.Single BIOS Mode switch:
Disables dual BIOS when enabled to allow faster boot-up and OC recovery, since the main and backup are both checked on boot up, disabling dual BIOS will disable this checking and link between the BIOS ROMs.GIGABYTE Settings Lock:
Will restore previously known good values to CMOS settings, this can be used in lieu of clear CMOS.DTB: Direct to BIOS button allows users to bypass pressing delete to enter the UEFI setup, it can save time.
GIGABYTE Memory Safe
Will engage fail-safe memory settings in case you think your memory settings are causing issues.Temp Sensor Port
More and more overclockers are using 2 probes (one on the CPU LN2 pot and one touching the CPU HIS) to check the temperature of their CPU. This allows you to check if the thermal paste you are using is still in good condition or not. You don’t need to have 2 thermometers to do this from now on!Voltages
Advanced Power Settings

CPU VRIN Loadline Calibration:
This is the LLC for the VRIN and has many levels, but Extreme is recommended for most OC scenarios.CPU VRIN Protection:
Overvoltage protection for the VRIN, set to highest amount of overvolt, or just leave auto.DDR Voltage Protection:
Overvoltage protection for the DDR, set to highest amount of overvolt, or just leave auto.CPU VRIN Current Protection:
This is overcurrent protection for the VRIN, set Extreme (which means least protection and highest current).DDR Current Protection:
This is overcurrent protection for the DDR, set Extreme (which means least protection and highest current).Over temperature protection for CPU VRIN and DDR:
Not currently available right now.CPU and DDR Switch Rate:
This is the switching frequency of the CPU VRIN and DDR VRMs, this setting has minimal effect on performance or power delivery, that is because you can only change it between 300-400KHz, which is very minimal (to protect from user damage). Lower will produce cooler running VRMs, higher will produce higher performance VRMs, just leave it in auto.PWM Phase Control:
This controls the balance of temperature and current in the VRM, Extreme performance will give you the best performance, and that is what you want when overclocking.CPU OC
Disable all the CPU features that you don’t really need (C1E, C3, C6 etc).Start with the CPU multiplier. I would recommend you to start with 40x. The bios will auto-set higher voltages for VRIN and VCore so you don’t have to worry about them at the moment. Check if your system can boot. If it can’t boot then start raising the CPU Vcore from 1.2V and the VRIN from 1.9V. Once you are able to boot in the OS you can use Prime95 or XTU CPU stress test to check if your CPU is stable at these setting, if not you can raise the voltages according to the maximum values below. Repeat this procedure until you find the maximum CPU clocks that your CPU runs stable at. Make sure to always keep an eye on the temperature and have the CPU-Z application always opened so you can watch for throttling.
| Setting | Air(max) | LN2(max) | Effect |
| VRIN Override | 2 | 2.6 | Stabilizes CPU and Uncore OC |
| Vcore | 1.3 | 1.7 | CPU OC stabilization |
| Vring | 1.3 | 1.6 | Uncore and CPU OC stabilization |
| System Agent | 0.45 | 0.6 | Memory and BCLK OC stabilization |
| PCH Voltage | 1.25 | 1.25 | BCLK OC stabilization |
| PCH IO Voltage | BCLK OC stabilization | ||
| DRAM Voltage | 1.5 | 1.5 | DRAM OC stabilization |
| DRAM VPP Voltage | 2.8 | 2.8 | DRAM OC stabilization |
| DRAM VTT | Memory stabilization. Half of DRAM Voltage |


Memory OC
Set a lower multiplier for the CPU and Uncore (20x). If you want to reach the highest memory frequency that your setup can reach then it’s better to change the BCLK strap to 125x or 166x. These straps will give you more room to overclock your memories. Try to boot as high as you can raising the BCLK frequency from the BIOS. DDR4 is a new product so the specs are new too. Usually you will be able to get your maximum memory clocks at 1.4-1.5. The System Agent will help you to go higher; you can start by using +0.25V. Also, the VPP voltage might help you to gain some stability at higher clocks. Once you find the memory speed your setup can do, start lowering the timings. You can check if your memories are stable using programs like Memtest or HyperPi. Start trying from 96 BCLK on the 125x strap and find the highest BCLK you can boot your OS at, then use GTL to go higher. You can also use the XMP profiles to overclock your memories and your whole system.
3000 C12-13-14-15-1T with 1.6V and Corsair 3200C16 memories:

Software
GIGABYTE Tweak Launcher

This is the best piece of software GIGABYTE makes for extreme overclocking; it is built to be light, fast, efficient, and respectable. This software works by changing the input values in real time either through integrated clock generators or through BIOS controlled voltage regulators to provide quick alterations to system parameters while in the Windows environment. GTL is currently available for XP as well as Windows 7 and 8, however in XP BCLK control might be tough since Intel discontinued Intel ME (management Engine) driver support for XP. You can still try to install Intel ME Drivers and find a hack.
GTL Frequency:
You can change the BCLK, CPU and Uncore parameters on the fly, (CLR Clk = Uncore Frequency)GTL Voltage:
Typical voltages, however you might notice DRAM Sync option. Usually VDDR_T (DDRVTT or DRAM termination voltage) is half of the DDR Voltage, however when overclocking it might be necessary to increase or decrease the termination voltage separately from the DRAM voltage. DRAM Sync allows you to choose whether the VDDR_T will increase and decrease with the VDDR or whether it will stay at what you set it while you increase or decrease DRAM Voltage. This is a very cool feature to boost memory overclocking capabilities.GTL Hotkeys:
Something new you might also notice is the Hot Key (HK) settings which allow you to choose hotkeys to load certain settings or increase/decrease certain parameters on the fly.Note:
For GTL and/or EasyTune to work with BCLK and Multiplier adjustment in Windows, it is imperative to install the Intel® ME Driver (Intel® Management Engine).EasyTune

EasyTune is GIGABYTE’s answer to in-Windows overclocking for those who are not at ease to overclock from the BIOS. You can control everything you need for overclocking, and EasyTune allows you to do something GTL doesn’t; your settings can be retained after reboot which means you don’t have to go into the BIOS to OC or redo your OC every time you reboot into Windows.
MemTweak

This is the latest version of MemTweak. On DDR4s you can change most of the timings in Windows. This is the most simple, easy and fast way to do it. MemTweak also allows you to save and load the profiles you created, this will prevent you from having to change all the timings over and over again. The timings that are greyed out cannot be changed.
World Records
Since the launch of the Haswell-E CPU and X99 platform at IDF 2014, GIGABYTE claimed several World Records and Top Scores. Here are some of them.XTU 8-Cores
 |
 |
Cinebench R15 8-Cores
 |
 |
WPrime 1024M 8-Cores
 |
 |
http://hwbot.org/submission/2634295
Catzilla 720P with 1x GTX 980
 |
 |
http://hwbot.org/submission/2637628
XTU 6-Cores
 |
 |
http://hwbot.org/submission/2631555
Available link for download
Wednesday, December 7, 2016
GIGABYTE X99 SOC Champion voted the best overclocking board by European Hardware Awards
GIGABYTE X99 SOC Champion voted the best overclocking board by European Hardware Awards

EHA was formed by KitGuru, Hardware.Info (The Netherlands), Hardwareluxx (Germany), Cowcotland (France), Hardware Upgrade (Italy), Hispazone (Spain), PurePC.pl (Poland) and Lab 501 (Romania).
Combined, the European Hardware Association reaches a vast and unique audience. Here are some of the stats:-
Over 20 million hardware enthusiast visitors a month
Millions of interactions on Facebook
A combined database of more than 100,000 articles
Millions of individual, scientific hardware tests, going back man years
Source: http://www.kitguru.net/channel/computex/andrzej/european-hardware-awards-winners-announced/
Available link for download
Monday, December 5, 2016
GIGABYTE Knocks Down Multiple World Records with X99
GIGABYTE Knocks Down Multiple World Records with X99
Even though the GIGABYTE X99 series motherboards were launched only a couple of weeks ago, GIGABYTE star overclockers HiCookie and Sofos1990 did not lose any time to outperform themselves on the X99-SOC FORCE and X99-SOC FORCE LN2. At the time of writing, the two of them lined up a total of 5 World Records on the new Intel Core i7 Extreme Edition platform. Additionally, CL3P20 also manage to push the limits of Intel’s Core i7 5820K by breaking the XTU World Record, bringing the count to 6 WR on GIGABYTE X99 motherboards!! Looks like GIGABYTE’s X99 series is going strong, stay tuned for more records.
http://hwbot.org/submission/2629204_ | http://hwbot.org/submission/2629192_ |
http://hwbot.org/submission/2629196_ | http://hwbot.org/submission/2629197_ |
http://hwbot.org/submission/2629497_ | http://hwbot.org/submission/2629804_ |
Available link for download
Tuesday, November 29, 2016
GIGABYTE X99 Series PCI Express Design
GIGABYTE X99 Series PCI Express Design


Here is an introduction video of the PCIe design available on GIGABYTE X99 series motherboards.
Available link for download
Sunday, November 20, 2016
GIGABYTE X99 All Digital Power Design
GIGABYTE X99 All Digital Power Design

Here is an introduction from Colin of GIGABYTE X99 series power design.
Available link for download
Monday, November 14, 2016
GIGABYTE X99 SOC Champion overclocking guide for uncore and memory overclocking
GIGABYTE X99 SOC Champion overclocking guide for uncore and memory overclocking
Our technical marketing guru, Sofos, has put together an advanced overclocking guide based around uncore and memory overclocking using the GIGABYTE X99 SOC Champion motherboard and chipset so make sure you check this out if you are on X99 platform and need a few pointers.
1. Adjust the OC switch the position 2, otherwise you won’t have the voltages you need for Uncore and memories. 
2. Voltages for Uncore
In the CPU Advanced Voltages, when you have the OC switch in the 2 position, you will see some extra voltages. VL1 to VL6.
You only have to change VL4, VL5 and VL6 as below. 
The voltage you have to change to get higher uncore is mostly the VL6. Almost all the CPUs can do 1.45V, most of the CPUs can do 1.5V but some CPUs can do even higher Voltage. There are few CPUs that boot with lower than 1.45V though. If the CPU can do high VL6 then probably it can do and high Uncore but not all the times. It depends on the CPU. In the OS through GTL all you have to do is to raise the VRING to 1.45V-1.5V in able to get high Uncore.
Temperature also helps with VL6 and uncore. If you are using subzero cooling try to find ideal temperature for max VL6 value and then see how high the uncore will clock. VRING is another voltage option that helps some CPUs. Try 1.35v and if going subzero, test up to 1.55 to see if there is any scaling.
3. RTLs
You can change the RTLs but not manually only changing the IOLs manually. IOLs to 1 will bring the RTLs all the way down to what the board is capable of until now. You need to change the IOLs at every channel. Set the option at manual mode and change the primary and secondary timings only for channel A and then change the IOLs to each channel manually.

4. Use both 8pin and 4pin cables for CPU Power otherwise with heavy load the system maybe will be shutting down.
5. You don’t need extremely high VSA and VDIMM. VSA between +0.25-0.35V should be enough to drive the mems high. +0.25-+0.3V should max your mems on most cases. VDIMM 1.55-1.65V is ok. I was able to do even C11 with 1.6V.

6. Few times you will see codes like 72, 74, 50, 51, 60, 8A. Try to press the reset button few times. There’re times that doing it it passes the training. Especially when you change the RTLs and you get 8A try it for sure. It doesn’t happen on latest bios so often.https://www.dropbox.com/s/g46ggra2mtkvv4z/F4f.rar?dl=0
7. X99 MemTweak, GTLhttps://www.dropbox.com/s/546fstudskrtpb8/GTL%202.1%20B15.0129.1.rar?dl=0
https://www.dropbox.com/s/op86rsq2ikubgcl/MemoryTweak-X99%20B14.1218.1.rar?dl=0
Highest bootable VL6 cannot be overridden through software. Same value that your CPU won’t boot from bios if you set it through software it will shut down.
8. Please be careful! The VLs can affect your CPU cold bug so make sure that when you change you don’t hit the cold bug earlier than before. If you have this problem try higher or lower VL3 (usually higher helps). If VL3 doesn’t fix your problem then try the same for VL6.
Also, different bclk affects the cold bug too, so try this as well. Almost all the CPUs are ok with 127.5 bclk and PCI3.
9. Make sure that you’re using proper insulation around the memories area and also put some paper towel around the PCH cooler. The way that worked best for us was a layer of plastidip, then a layer of Vaseline and paper towel.
10. Always save a profile before you save and exit cause most of the times the only way to go back is the CMOS button.
11. For memory voltage we used up to 1.9V on single sided dimms on LN2 without a problem. But it doesn’t mean that all the dimms can handle it so be careful in case you don’t want to degrade or kill your memories. Dino was benching with 1.8V without any issue.
Enjoy!
Available link for download
Saturday, November 5, 2016
GIGABYTE X99 Champion Challenge Winners!
GIGABYTE X99 Champion Challenge Winners!

It is a bit with some delay, but at last the winners for our last competition hosted on HWBOT.org are confirmed!!
We would like to congratulate Demac, FireKillerGR and Coldest for taking the top 3 positions by collecting the most points.
- #1: Demac with 193 points, wins $1,500 USD
- #2: FireKillerGR with 157 points, wins $800 USD
- #3: Coldest with 134 points, wins $500 USD

As for the lucky draw winners, we had 3 categories. One winner amongst the lowest scores, one winner amongst the submissions above 25 degree and one amongst the submissions bellow 25 degree. The winners are:
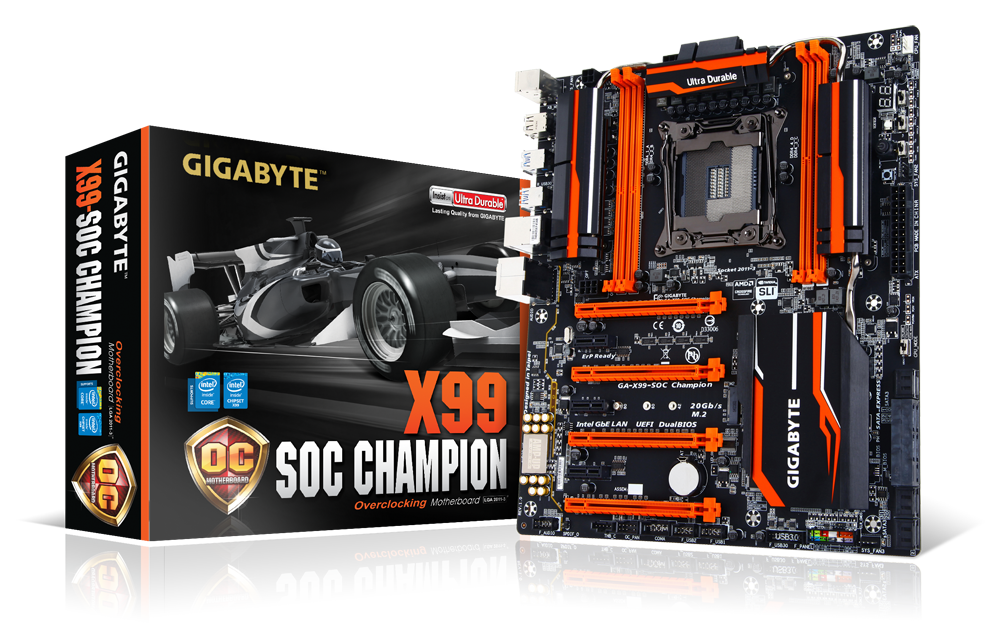
- Low score: Beakface, wins a GIGABYTE X99-SOC Champion motherboard
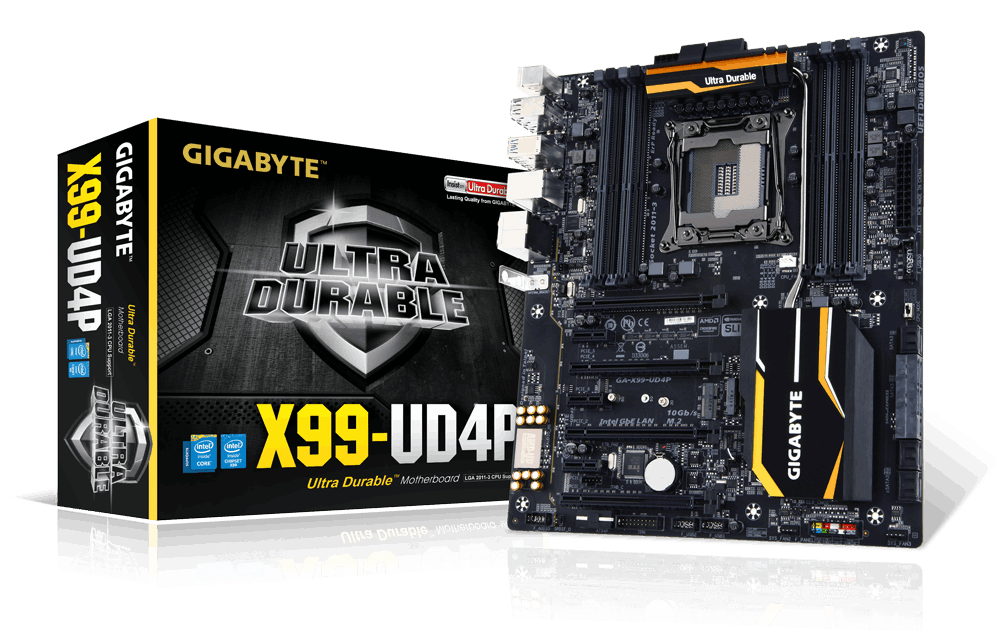
- Above 25°C: pho5ph0ric, wins a GIGABYTE X99-UD4P motherboard
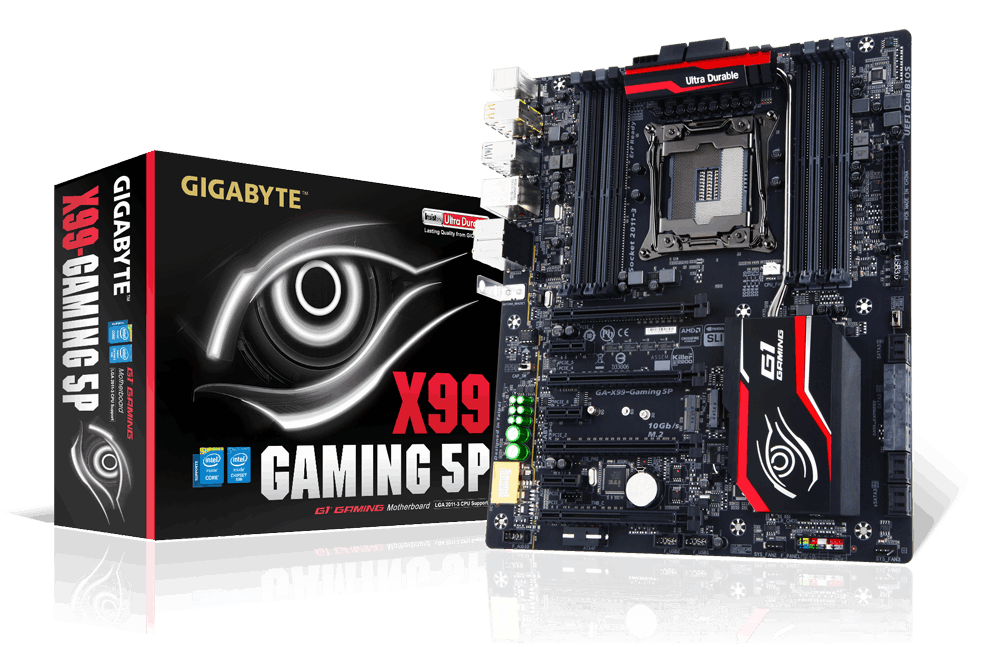
- Below 25°C: strong island 1, wins a GIGABYTE X99-Gaming 5P motherboard
All winners have been contacted by email, so check your inbox to claim your prize!!
Congrats to the winners and thanks to everyone for their participation.
See you soon at the next GIGABYTE comp.!!
Available link for download